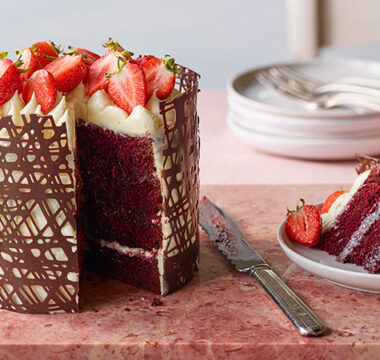
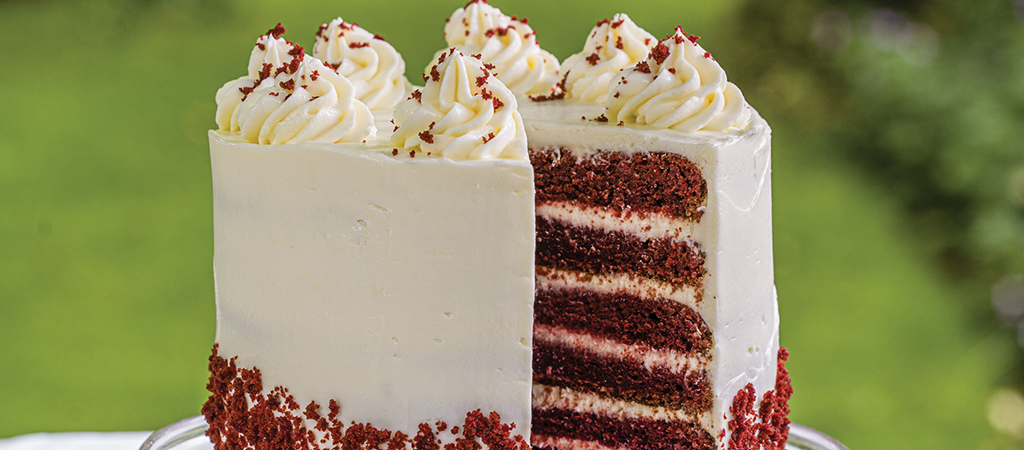
A tender, tangy buttermilk sponge is the foundation for this cake’s striking red interior. The colour can depend on the cocoa you choose. Dutch process cocoa, which is washed with a potassium carbonate solution to neutralise its acidity, produces a darker, more red cake; natural cocoa is lighter in colour. Flavourwise, though, you’ll be met with the same deliciousness.

Paul Hollywood
Series 13
Serves:
12-16
Difficulty:
Needs skill
Hands-On Time:
1 hr 30 mins
Baking Time:
25 mins
- Ingredients
- Method
Print recipe
Method
Step 1
Make the sponges. Heat the oven to 200°C/180°C fan/400°F/Gas 6. Beat the butter and sugar in a stand mixer fitted with the beater, on medium speed for 3–5 minutes, scraping down the inside of the bowl from time to time, until pale and creamy. Add the eggs, a little at a time, beating well between each addition until combined.
Step 2
In a small jug, mix the cocoa powder, vanilla, red food colouring and hot water together to form a paste. Add this to the bowl and mix well until combined.
Step 3
Combine the buttermilk and salt in a jug. Mix one third into the bowl, then add one third of the flour. Continue to mix in the buttermilk and flour alternately until thoroughly combined.
Step 4
In a small bowl, mix the vinegar and bicarbonate of soda together, then add this to the bowl and beat gently until the mixture is smooth.
Step 5
Divide the mixture equally between the lined tins and spread it level. Bake the sponges on the middle shelves for 20–25 minutes, until risen and a skewer inserted into the centres comes out clean. Leave the sponges to cool in the tins for 5 minutes, then carefully turn them out onto a wire rack to cool completely.
Step 6
Make the filling and icing. Whisk the cream cheese, cream, vanilla, icing sugar, mascarpone and salt in a stand mixer fitted with the whisk until the mixture is smooth and holds stiff peaks. Divide the icing equally between two bowls, then chill it until needed.
Step 7
Assemble the cake. Remove one bowl of the icing from the fridge. Using a large, serrated knife, level the sponges, keeping any offcuts for the decoration. Slice each sponge in half horizontally so you have 6 thin sponges. Smear a little of the icing onto the middle of a cake plate or cake stand and top with the first sponge.
Step 8
Spread one fifth of the icing over the first sponge, then top with a second sponge. Spread with another fifth of the icing, then top with a third sponge. Continue layering until you have 5 layers of icing between 6 sponges.
Step 9
Remove the second bowl of icing from the fridge. Using a palette knife, spread half of the icing over the outside of the cake to seal and neaten. Clean the palette knife and smooth off any excess icing to create a smooth even icing layer.
Step 10
Using half of the remaining icing, spread a second thin, even layer over the top of the cake and smooth it with a palette knife.
Step 11
Spoon the remaining icing into the piping bag fitted with a medium closed star nozzle and pipe 8 rosettes around the top edge of the cake.
Step 12
Crumble the reserved offcuts of sponge and gently press these up the bottom third of the cake. Sprinkle a few crumbs over each piped rosette to finish.